

Update (August 3, 2022): This application is no longer functioning as intended. It is recommended to switch to a more up-to-date alternative, such as OWASP ZAP, for continued functionality and support.
IronWASP (Iron Web application Advanced Security testing Platform) is an open source system for web application vulnerability testing. It can be customized to create custom security scanners using Python or Ruby scripting. This system is simple enough to be used by absolute beginners.
Installation
IronWASP is a windows application and need not be installed in the system. Navigate to the downloads section of https://ironwasp.org/ and download the application as ZIP file. [This site no longer works as the author had retired the project]. Two options are available to download now:
- Download from my GitHub repository (forked from Lavakumar/IronWASP) releases page here. Download the Debug.zip file in the releases page. I have updated the library, so that HTTPS sites also works with IronWASP.
- Use Internet Archive to view the snapshot of the website here. Navigate to the downloads section and download the application as ZIP file.
Extract the contents to desired location and open the IronWASP executable.
The application can also be able to run on Linux and Mac as well, using third-party software. More details can be found on the downloads section.
Windows 8.1 and 10 users: Enable the ".NET Framework 3.5 (includes .NET 2.0 and 3.0)" windows feature using the "Programs and Features" section in the Control Panel. The feature is downloaded from the windows update server.
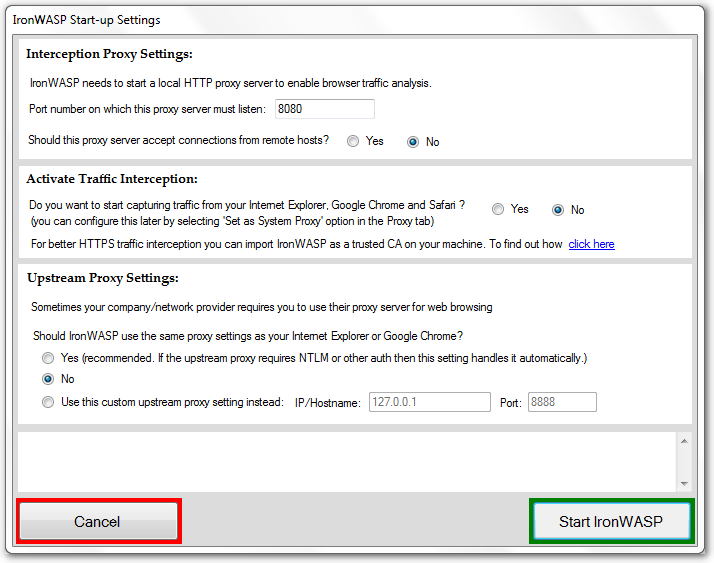
Start-up settings dialog
A start-up dialog is displayed each time the IronWASP executable is started. Set the desired values in this dialog for using the application. Keep the default values and "No" option for Yes/No options.
How to use IronWASP and find security issues
IronWASP needs to know about a web application's pages and features to perform its tests. First step is to provide this information to the IronWASP. The steps are as follows.
Step.1 Crawling the web application
IronWASP can automatically discover the pages using a crawler feature. Launch this feature from Tools -> Browser based crawler and enter the URL of the web application and click the "Start" button.
Some pages are complicated and can't be discovered automatically, user intervention is needed for these pages. User can select the button "Open manual crawler" and a chrome browser is displayed. User need to enter the URL of web application and navigate to the pages IronWASP was unable to find automatically. Also perform the functionalities of the web application. All the actions done in the browser will be recorded by the IronWASP and later will be used for vulnerability scanning.
A small demo application is provided along with the IronWASP application. Launch this application by running the DemoApp executable in the IronWASP folder. Select the "Start server" button and note down the URL displayed in the application and enter the same in the browser.
Step.2 Vulnerability scanning
After all the pages of the web application are recorded by IronWASP, a vulnerability scan can be started. If the web application uses authenticated pages the login steps need to be recorded in the IronWASP scan project as well. This can be done using the feature "Record login, CSRF token sequence" in the "Sequence recording tools" menu option of the IronWASP.
To start a vulnerability scanning, expand the "Site map" displayed in the left-side section of IronWASP, and right-click on the site you want to start scan. Select "Scan Branch" option and a "Scan Branch Wizard" is displayed. Keep all the default settings and modify if necessary in each step, and in the last step click the "Start scan" button.
Step.3 Hybrid testing
In this step manual efforts are required to find vulnerabilities. IronWASP have some testing tools in the menu option "Interactive testing tools", and using these tools some functional vulnerabilities can be discovered manually.
Step.4 Advanced testing
For advanced users with sufficient knowledge to scripting can create additional modules for vulnerability scanning. Also, a manual testing option is also available in the IronWASP tab menu. The script creation assistant can be uses by testers to create automated scripts to perform new vulnerability checks, or automate any part of vulnerability testing procedure.
Step.5 Reporting
Once all the scans are complete, a report can be generated in either HTML or RTF format. To generate a report use the "Generate report" menu option.
Simple vulnerability scanning
A simple vulnerability scan can be started by just mentioning the web application URL in the "Console" tab of IronWASP.
Simple scan uses the automated crawler to find the pages and starts the test.
Vulnerability scanning using burp suite proxy
While scanning locally hosted fast responding websites, the scans are sometimes stuck because of some unknown reason. Also, some scans are aborted with "Receive Failure" error when the server terminates a connection. The workaround for these errors are using an upstream proxy. Burp suite provides a java based proxy and it handles all the errors and displays a friendly error message.
Vulnerability scanning using manual crawler
The vulnerabilities are not discovered by IronWASP because all the pages are not crawled automatically by the IronWASP. Manual crawling is necessary for IronWASP to capture these pages. Scans can be started for each requests displayed in the Log as well.
Generating vulnerability report
A nice looking report can be generated after all the scans are complete. Select the option "Generate Report" menu option to generate the report. The report can either be in HTML or RTF format.
Conclusion
IronWASP is one of the best opensource vulnerability scanner. The main advantages are:
- Login sequence can be recorded
- Effective scan engine to detect most common vulnerabilities.
- Can be customized easily to test new vulnerabilities.
- Vulnerability report can be generated.